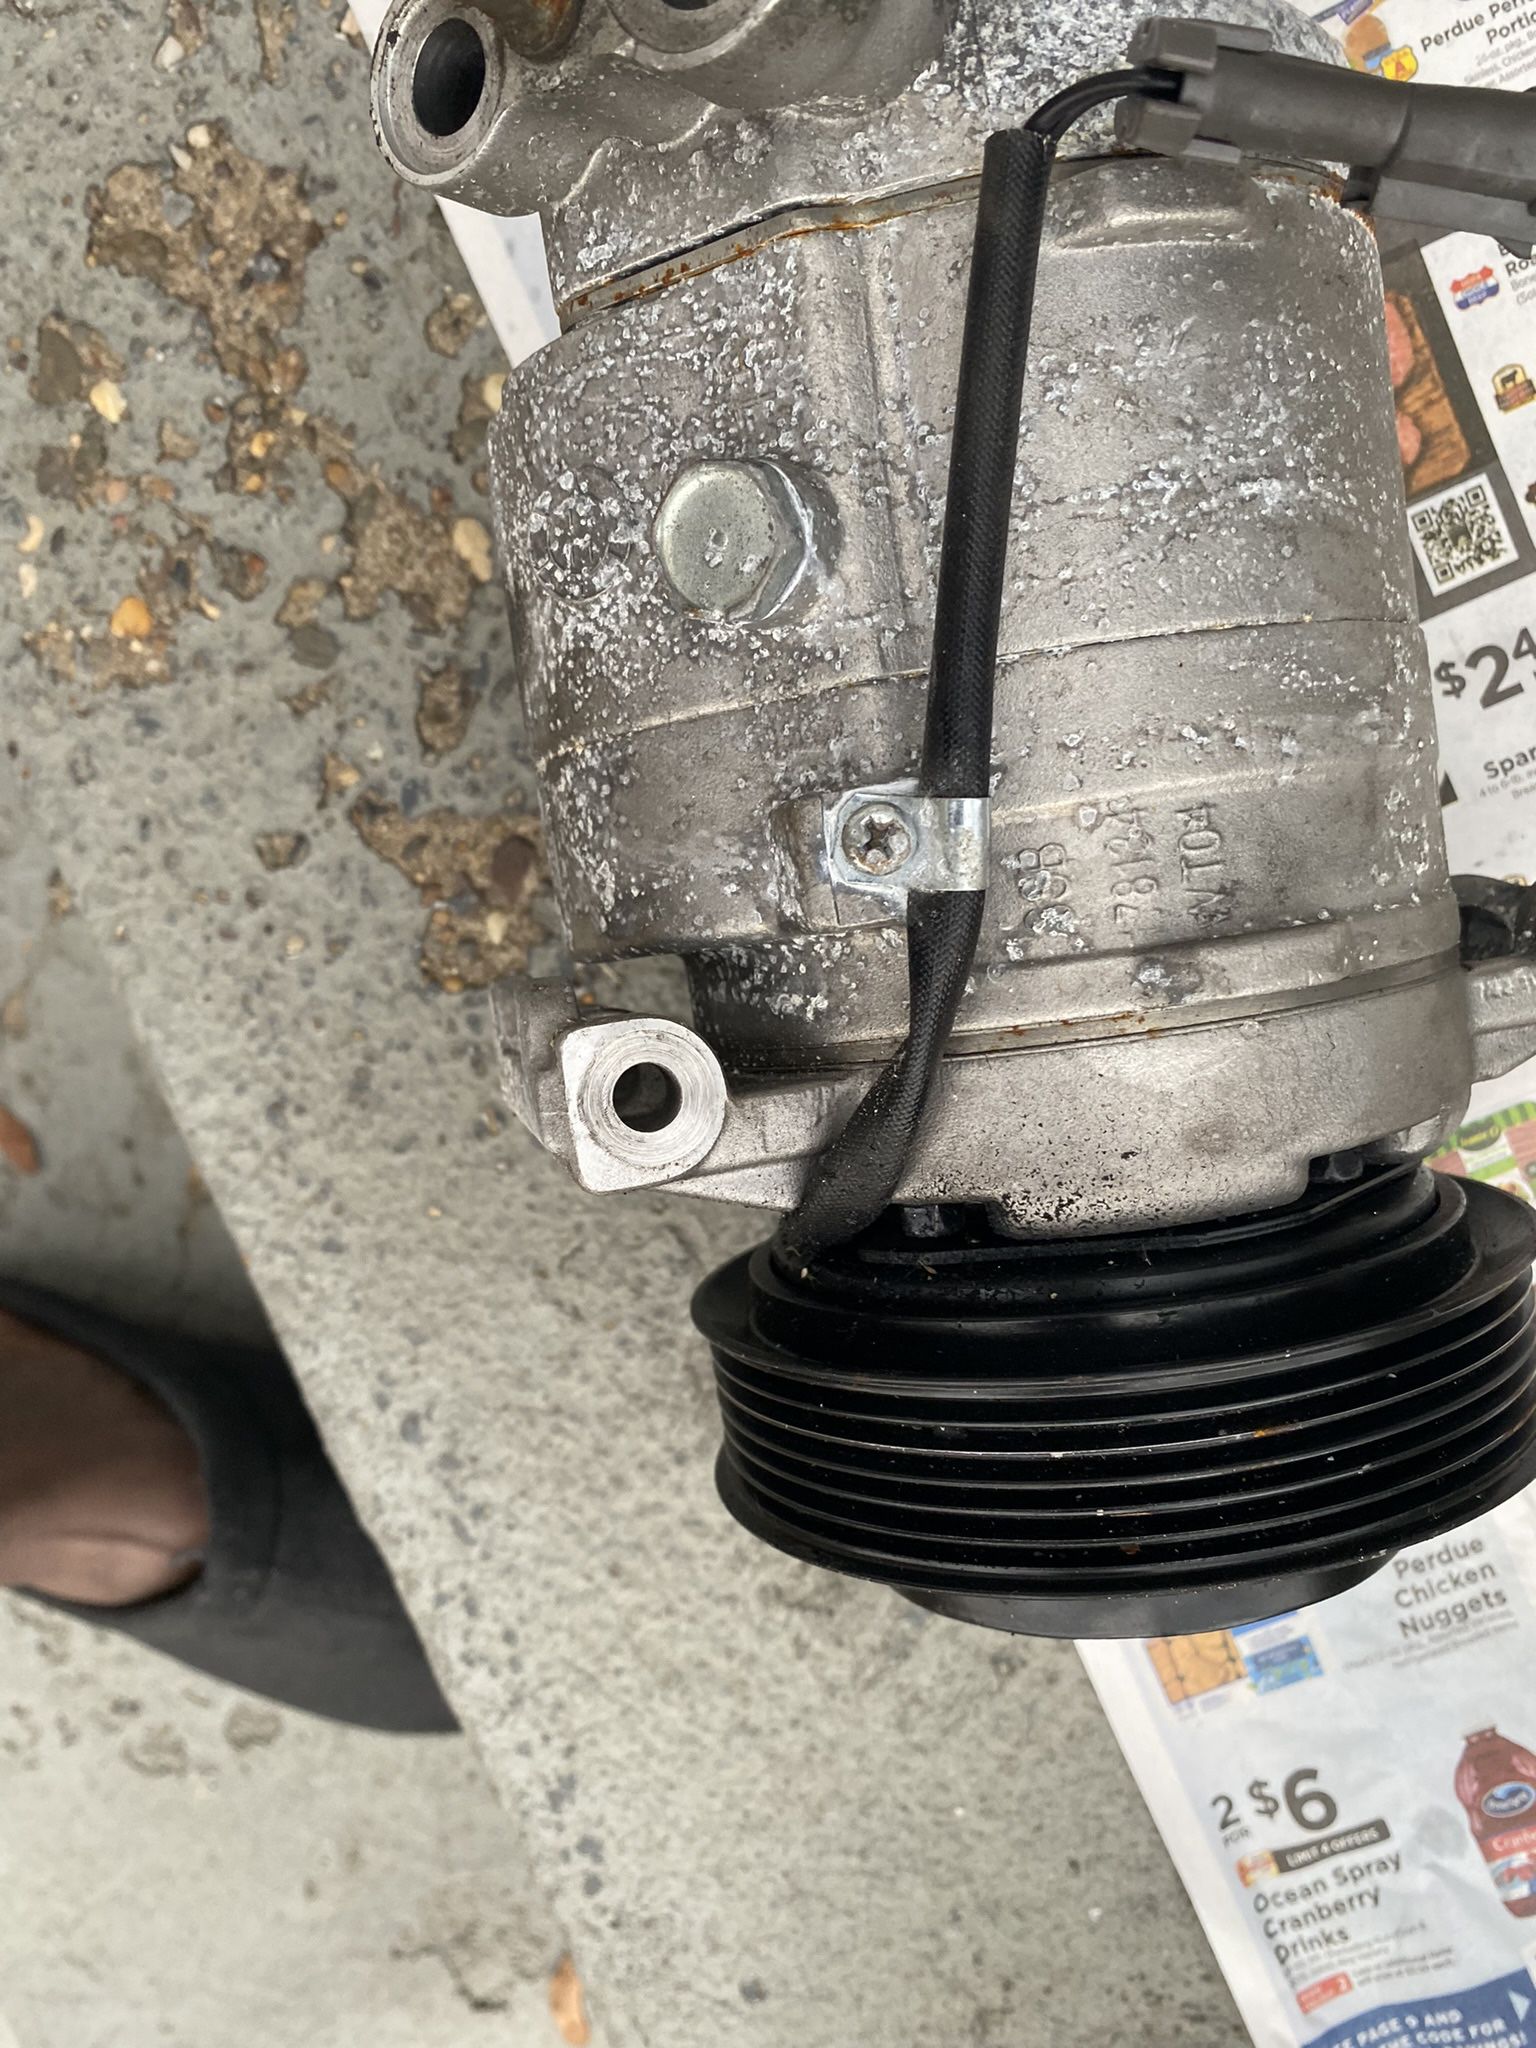
A/C Compressor for 2010-2011 Chevy Equinox, GMC Terrain 2.4L
$90
Ships for $3.49
Last updated 5 months ago in Gibbstown, NJ
Condition: Used (normal wear)
Listed in categories: Vehicles - Auto parts & Accessories - Air conditioning & Heating parts
Sold by
2-Day Purchase Protection
Items shipped through OfferUp come with a 2-day purchase protection.
Additional images
Description
AC A/C Air Conditioning Compressor For 2010-2011 Chevrolet Equinox GMC Terrain 2.4L (OE:(contact info removed)0, (contact info removed)8) Detail: A/C Compressor with clutch Pulley 5 Groove -- 4.75" OE:(contact info removed)0, (contact info removed)8 Part Number: (contact info removed)0, 10365761, C2369R, 255776, (contact info removed) AC Delco: 1522276 Austin Baker: 10365761 Four Seasons: 67680,68680 General Motors: (contact info removed)0 Global Parts Distributors: (contact info removed), (contact info removed),(contact info removed) NAPA: 255776,276234,TEM255776,TEM276234 Omega: (contact info removed),(contact info removed)AM Ranshu: 1422188,1422188C Trad Automotive: C2369, C2369R UAC: CO 22276C Compatibility: 2010-2011 Chevrolet Equinox 2.4L 2010-2011 GMC Terrain 2.4L Package Includes: 1*A/C Air Conditioning Compressor For 2010-2011 Chevrolet Equinox Precautions before installation. 1、Confirm that the part is suitable for your vehicle, please enter the year, made and model of your vehicle in the compatibility table. 2、Please make sure to clean the air conditioning system before installation, otherwise it will cause compression damaged. 3、Refrigerant does not need to be filled up, too much refrigerant may make noise (A/C system label under the bonnet wrote the correct amount and type of refrigerant) 4、It is recommended to install under the guidance of a professional ,and with professional equipment to avoid damage to the compressor due to wrong operation。 Compressor removal: 1. first remove the air conditioning belt from the air conditioning compressor pulley (this may require loosening the belt tensioner). 2. Evacuate the air conditioning system using a refrigerant recovery machine. 3. Disconnect the negative battery cable. 4. Remove the coolant lines and the fixing bolts on the compressor and check for impurities in the air conditioning pipes, if there are impurities in the air conditioning pipes, the air conditioning system needs to be cleaned first. 5. Disconnect any electrical connectors from the air conditioning compressor, remove the air conditioning connections, remove the air conditioning compressor mounting bolts and remove the compressor. Installation of the compressor: 1. Remove the receiver/dryer or accumulator, and the expansion valve or orifice tube. 2. Evaporator flush: remove the valve from the expansion valve system and flush the condenser from the outlet to the inlet and the evaporator from the inlet to the outlet (use a non-oil based air conditioning flush to flush the condenser and evaporator). 3. The compressor is already pre-filled with the correct oil and no additional oil is required. 4. Install a new dryer or accumulator and a new air conditioning pipe or expansion valve. 5. Install and tighten the new air conditioning compressor. 6. Connect all electrical connections to the compressor, reinstall the refrigerant line and air conditioning belt to the air conditioning compressor and connect the negative battery cable. 7. Evacuate the vehicle's air conditioning system for at least one hour. 8. Check the type of refrigerant used in the vehicle, start to fill with the appropriate refrigerant, turn on the AC switch for two minutes and allow the refrigerant and oil to spread evenly throughout the air conditioning system (if you do not know the correct amount and type of refrigerant in the system, check the A/C system label under the bonnet of the vehicle) 9. Check for refrigerant leaks. 10. Apply an air conditioning pressure gauge to check that the high and low pressures of the refrigerant in the air conditioning pipes are within the standard range and add or remove refrigerant. 11. Start the vehicle's engine, turn on the air conditioning system and check that cold air is now coming out of the air ducts. 12. If everything is OK, the entire compressor installation is complete.
Save, Report, and Share
Item location map
Map is approximate to keep seller’s location private.
Related searches
- Rims
- Tires
- Chevy parts
- Winch
- Jeep parts
- Mercedes parts
- Gmc parts
- Infiniti parts
- Headlights
- Acura parts
- Trailer tires
- Audi parts
- Jeep wheels
- Black rims
- Auto body parts
- Hyundai parts
- Mazda parts
- Oem parts